Skip to main content
Search
Search This Blog
rockin heARTist
Pages
Home
EVENTS
More…
Posts
Showing posts from June, 2016
Show all
June 20, 2016
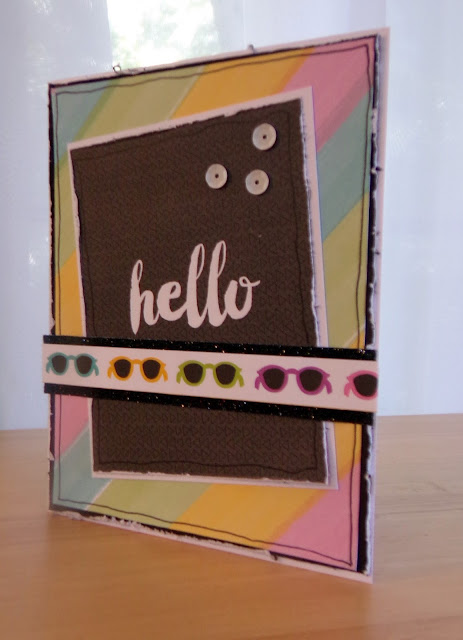
Heart2Heart Challenge Blog Calypso Colors
June 10, 2016
Calypso and the Split Panel Card
June 09, 2016
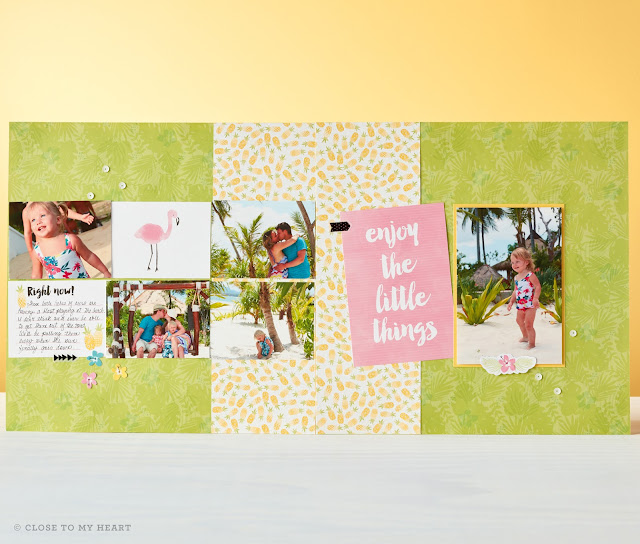
A Little Flamingo Thank You
June 06, 2016
Congratulations is the Heart2Heart Challenge Theme
June 03, 2016
FIRST June Flash Sale!
June 02, 2016
Loving the Calypso (G1109) Workshop Your Way Kit
June 01, 2016
The Long Way Home (S1606) is a Traveling Favorite
Newer Posts
Older Posts
Home